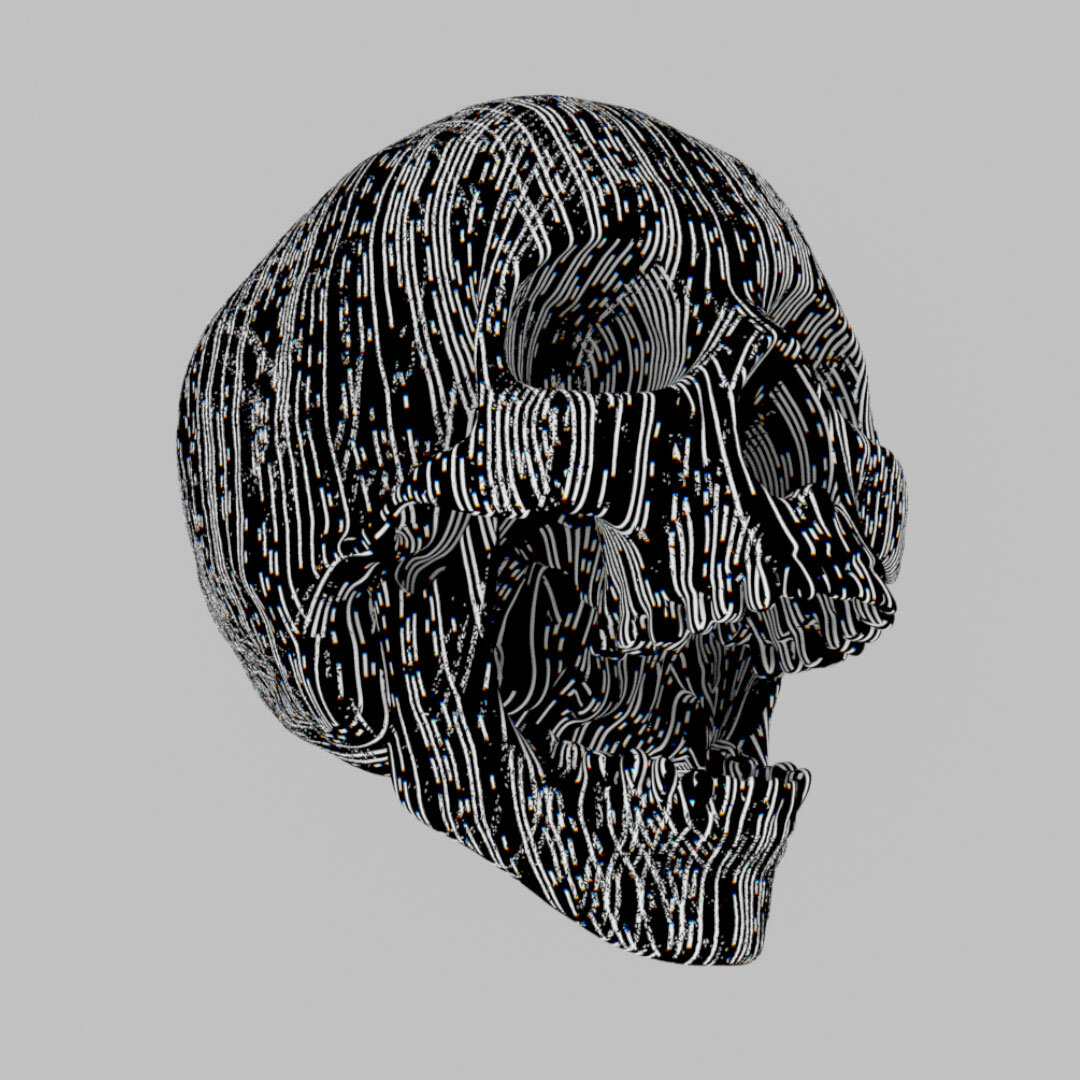
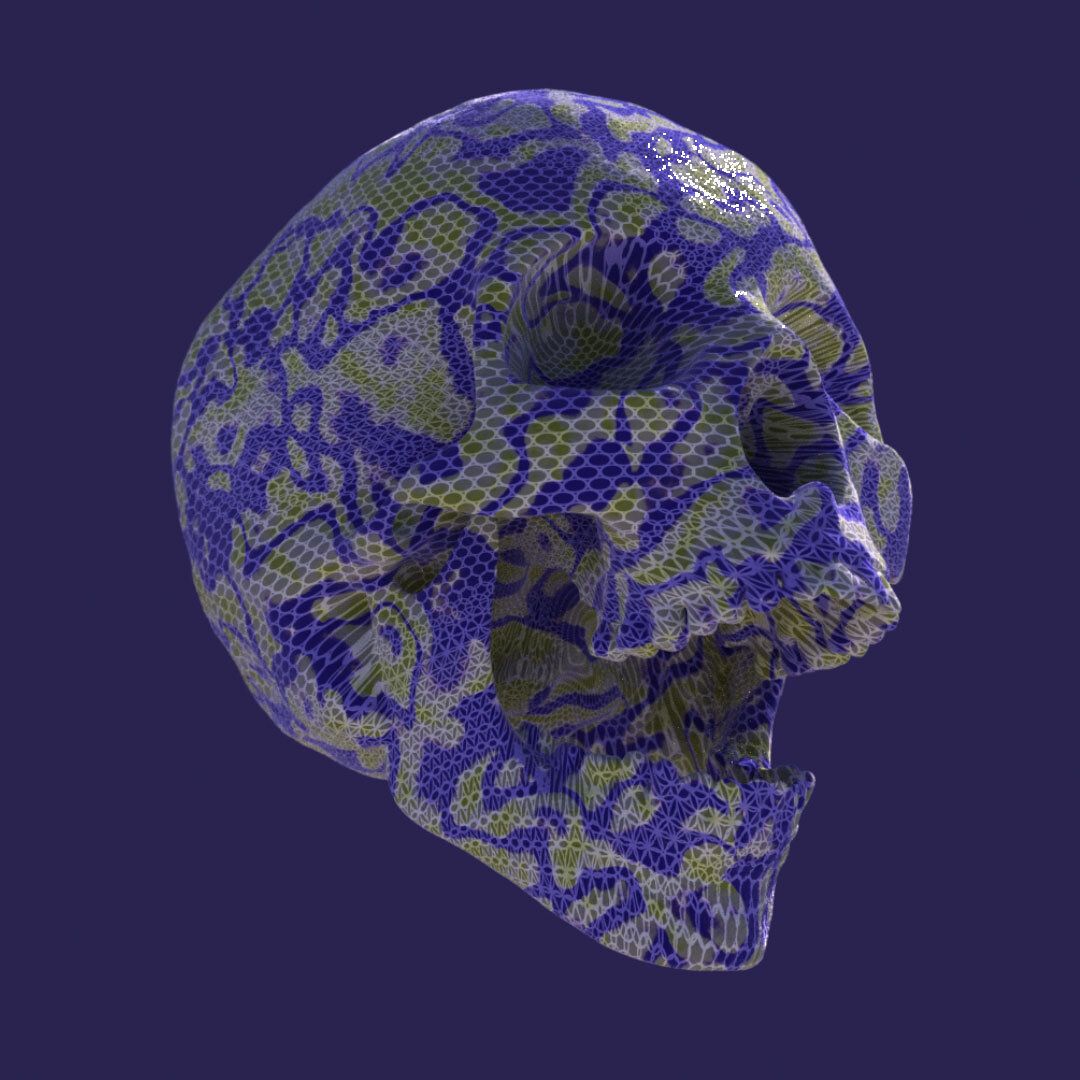
It’s finally here! Otoy has released their highly anticipated update, version 2020.1. There are a lot of new features in this update. In this tutorial we’ll explore a few of the many new features that are available within the plugin version for Cinema 4D. In this update it’s all about the power of nodes!
You can view all of the new features in the release on Otoys website.
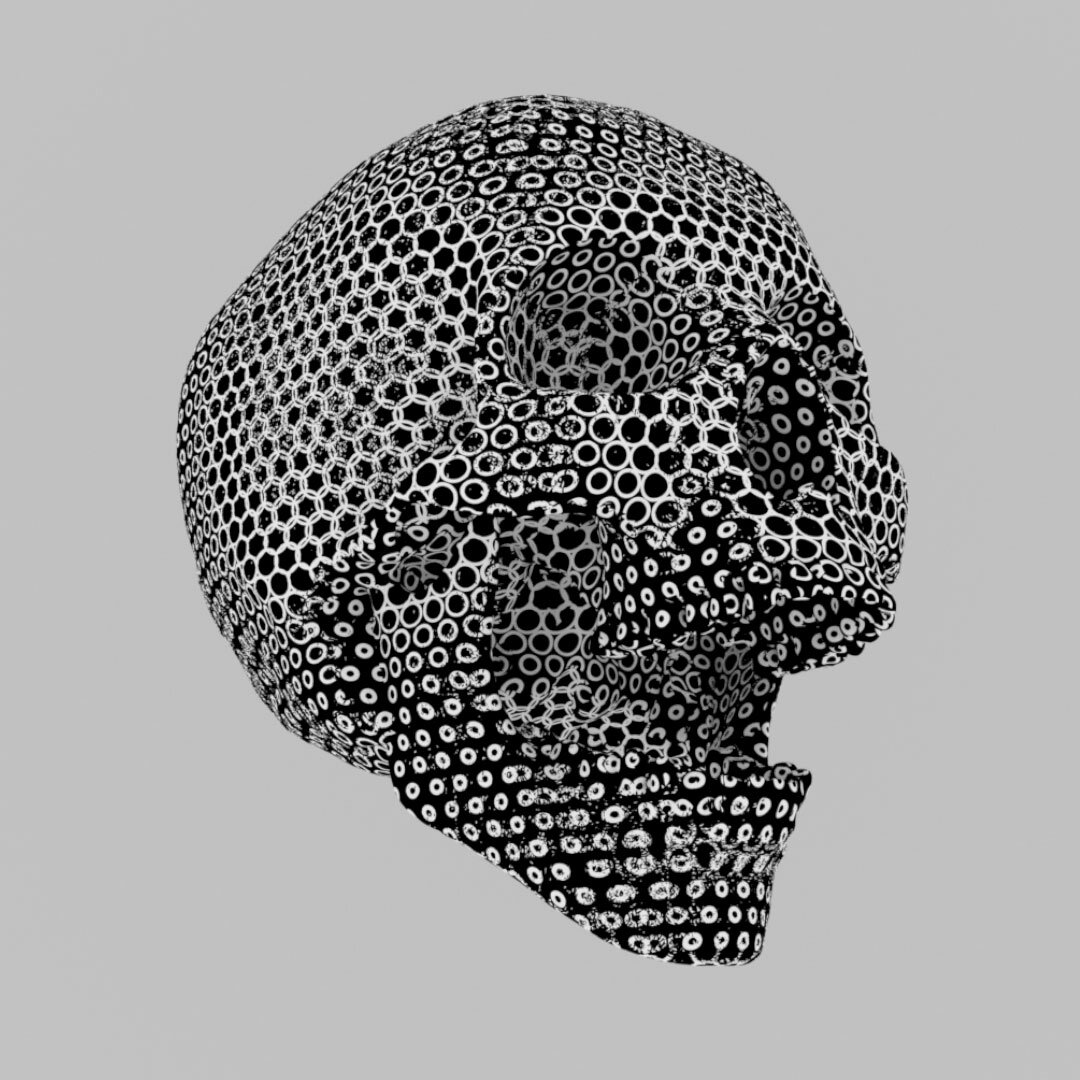
Otoy has added bunch of new nodes to the node editor. Of the bunch comes the new OSL (Open Shading Language) nodes you can use to generate unique materials using code. Now you don’t need to know code to alter this nodes (though it is a plus!) they can be easily adjusted and animated by sliders.
Go ahead and start experimenting with these nodes. There are a lot of different ones to choose from. Aside from this, A completely new collection of customizable OSL procedural shaders has been added to the LiveDB. These include new patterns, noises, volumetric shaders and other effects and useful utilities.
You can drag in some new procedural presets from the Live DB into the node editor to get a sense of how Otoy uses the new node system.
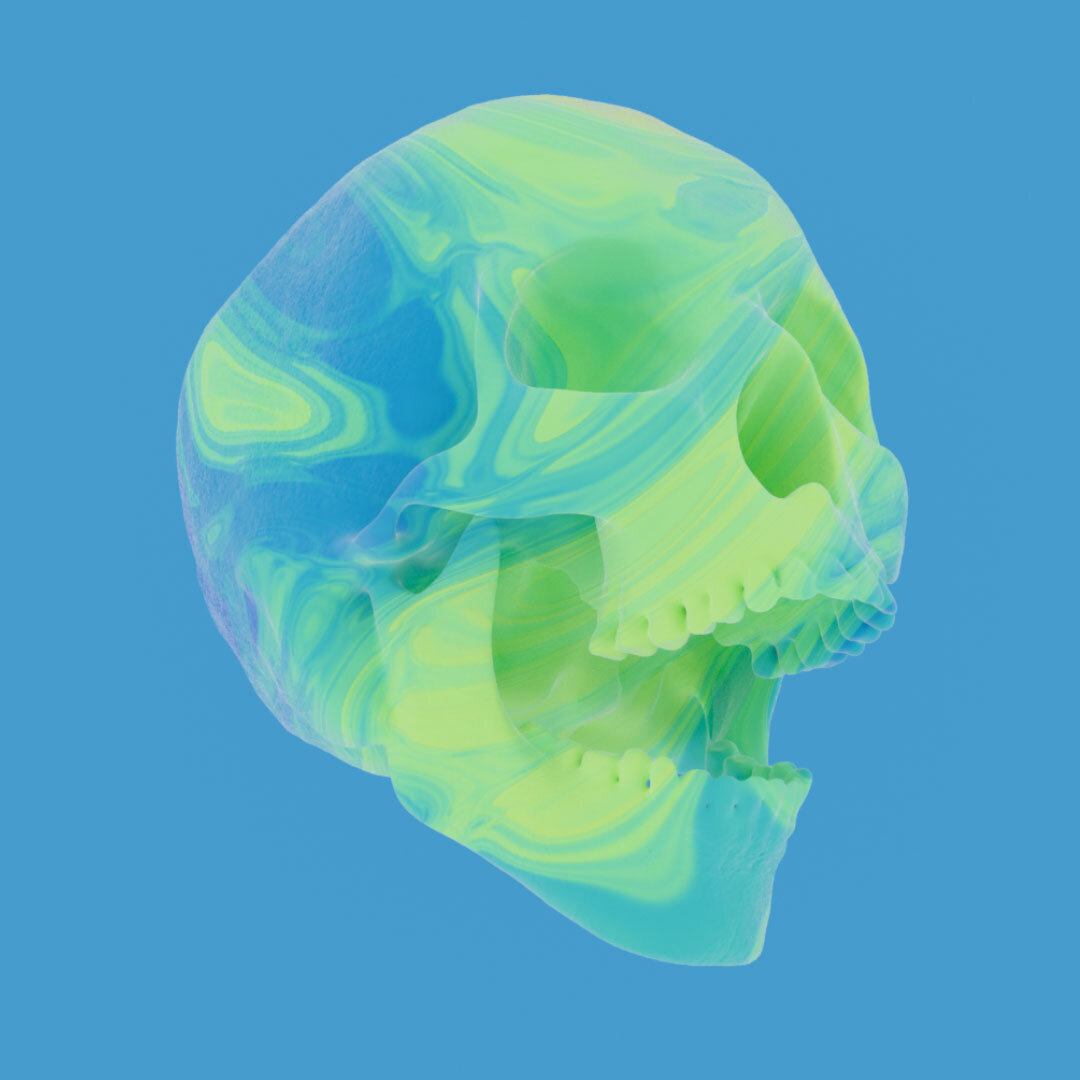
We now have the ability to stack materials in a layered fashion. This is extremely handy in creating a complex base material to then continue mixing on top off.
Its important to note that the new Layered Material does not have the ability to use a standard Octane Material. Instead the user must generate the “Base Material” from within the Layered Material itself. It seems that for now the possibilities for the secondary layers (labeled “Layer1” and Layer2”) are somewhat limited.
When creating the secondary layers we only have the option to create Diffuse, Metal, Sheen, and Specular materials. It seems that currently there is no option to use a glossy material. However there is an option to create a “Layer group.” Which will allow the use to stack even more materials on top of one another.
This system uses the “Layer opacity” function in order to blend material on top of one another. Hopefully we have the option for more blending option in the future. Having modes like “Add” and “Multiply” would allow for more complex mixes.
Overall this is a pretty cool system for stacking material on top of one another. Give this one a try. There is a lot of potential here.
Otoy has also taken time to add some new nodes we can use when working with specular mediums. They’ve add new “Volume Medium” as well as a new “Random Walk” node.
The volume medium is pretty similar to previous medium nodes. I was more excited to play with the Random Walk.
This medium node takes in an albedo texture for specifying the expected SSS color, as opposed to the traditional absorption/scattering color spectrum in other medium nodes. You can also specify a color radius texture, which represents how far the light scatters into the medium.
Random walk SSS can be attached to any existing material similar to other previous medium nodes. Furthermore, it can be used in conjunction with layered materials to simulate things such as skin material.
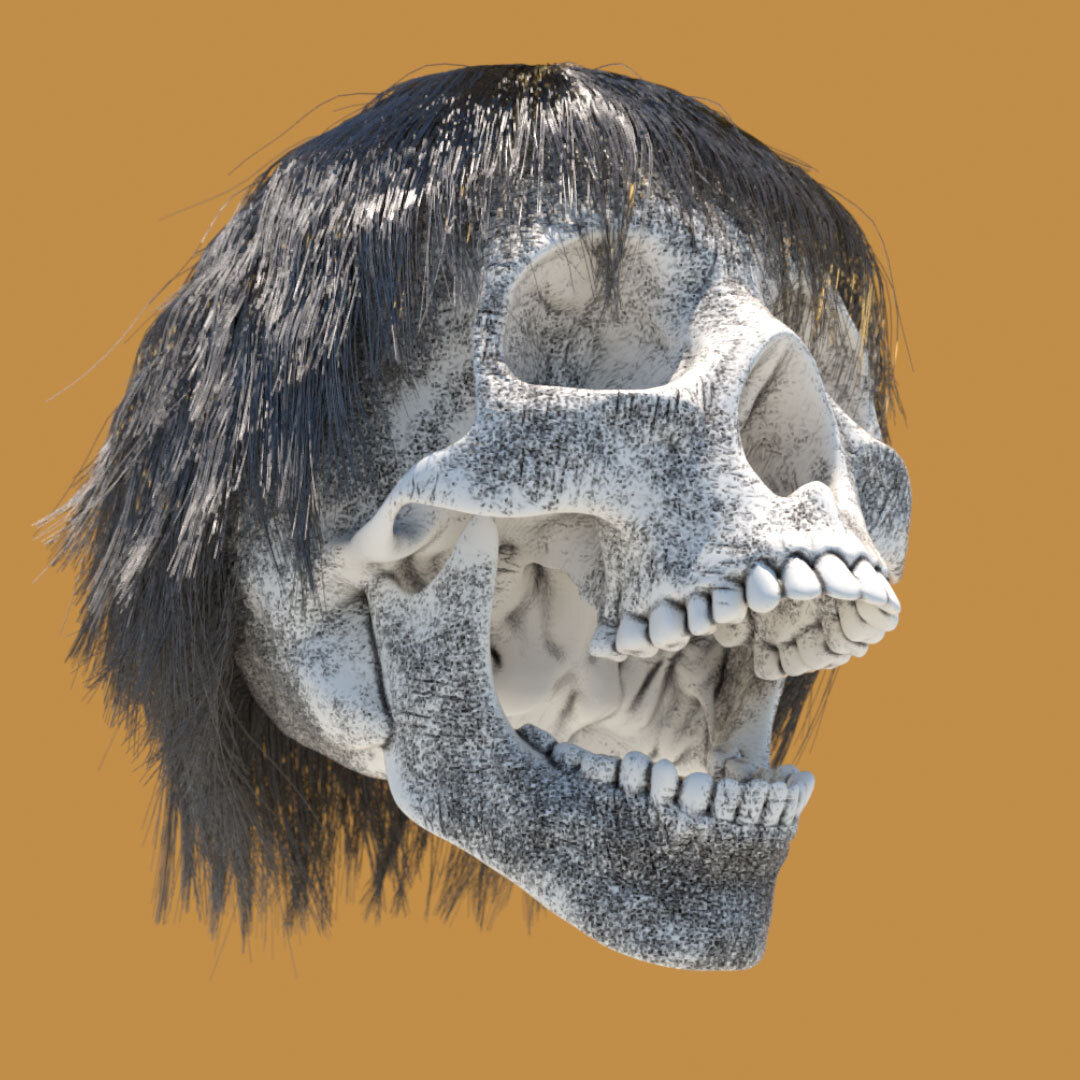
Otoy had finally implemented a new hair material in 2020.1 that improves hair rendering realism in general for Octane. The difference between hair material and traditional diffuse/specular materials is that hair material assumes the geometry it's assigned to is strictly a hair spline, allowing pre-integration for multi-scattering effects that occur in hair geometry.
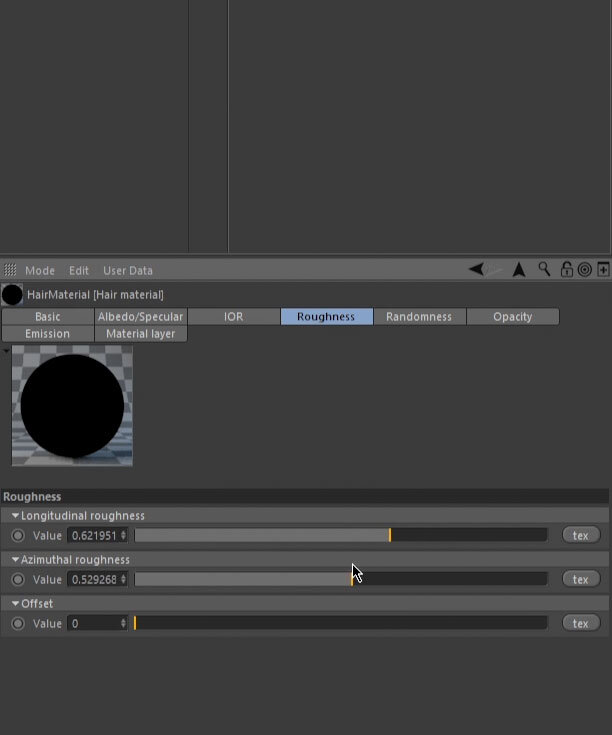
Hair material has its unique set of parameters, allowing different coloring modes for hair, and also multiple roughness parameters for different scattering behavior along a hair strand.
This is something Octane has be lacking for some time now. In the past we would have to just create a standard material and place it on top of the hair. The new longitudinal roughness allows greater controller over the hair specularity, which produces stunning results.
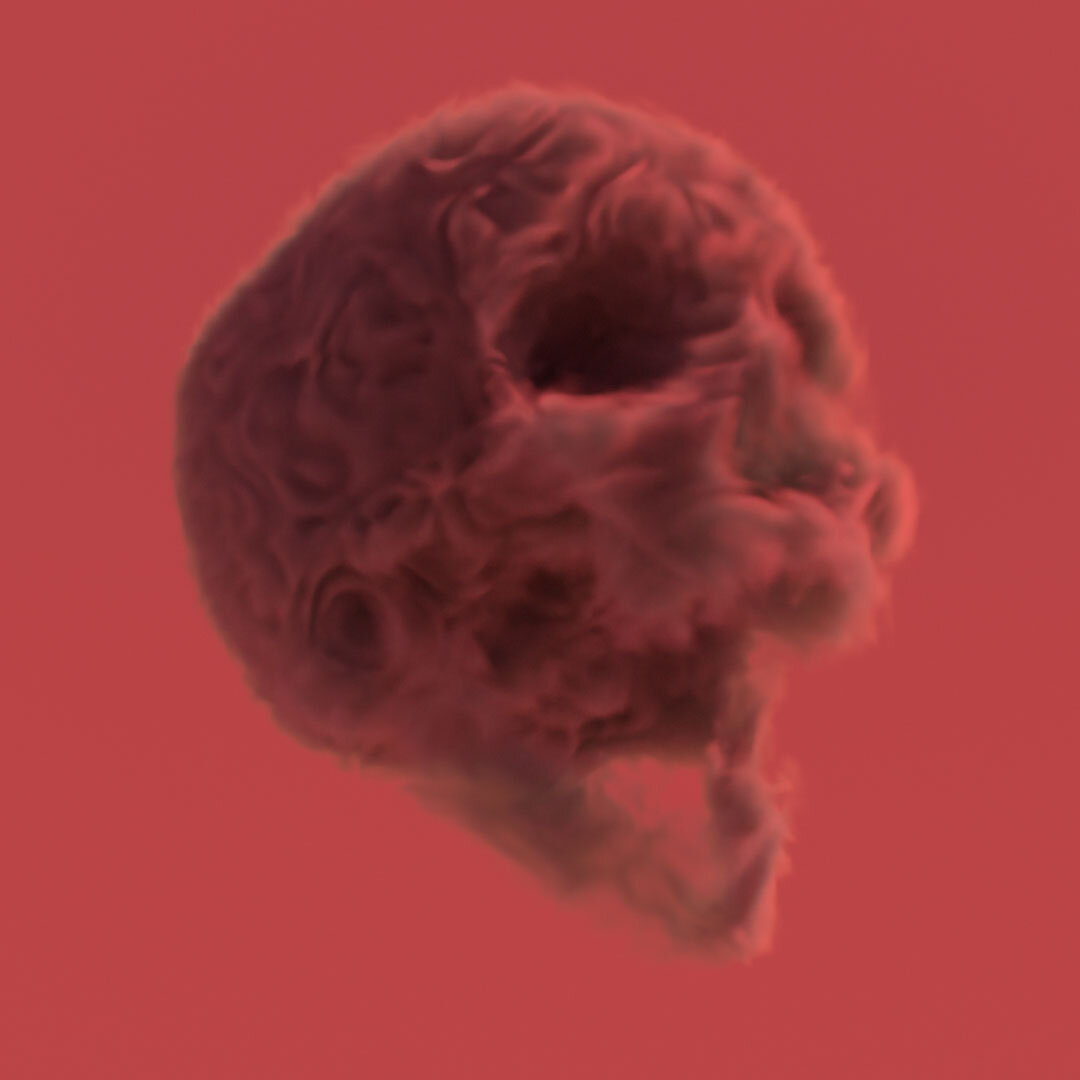
The new Volume Sample Displacement is probably one of my favorite new additions to Octane 2020. For the first time, we now have the ability to control of a volume will look after all of the simulation has taken place, allowing the artist to add greater detail to a low res cache file.
Volume sample displacement allows you to use arbitrary textures to shift the sampling position inside the volume grid at all positions. In the case of noise, you can add micro detail without having to modify the volume data at all, and can be adjusted in real time.
That will do it for this list. There are honestly too many awesome new features for me to cover all at once. Check the video above for a more in depth discussion. Happy creating!


